Hey there, my fellow memory-makers and crafty enthusiasts! If you're looking to add some spooktacular fun to your Halloween decor, I've got a ghoulishly good idea for you – upcycling old pictures into spooky crafts. I recently had the chance to join the Cool Crafty Spooky Girl Club, and let me tell you, it was a blast! Let's dive into how you can do it too, whether it's for a girls' night or a family adventure.
| Step 1: Join the Cool Crafty Spooky Girl Club (In Spirit) I was lucky enough to score an invite to this amazing group of crafty ladies, and you can join in the spooky spirit too! Start by gathering your friends or family members who are up for some creative fun. Create your own version of the Cool Crafty Spooky Club and give it a fun name – maybe even design a cool logo, just like we did. |  |
Step 2: Thrift Store Adventures and Picture Picking
Our adventure began with a visit to our local thrift stores, but you can also raid your own walls for old pictures that could use a spooky makeover. My aunt, Vanessa, cousin Lily, and I decided to explore my grandmother's house in search of the perfect piece with sentimental value.
 |
Step 3: Gather Your Craft Supplies
Before you get started, make sure you have all your craft supplies ready. You'll need acrylic paints in your favorite spooky colors, paintbrushes for those artistic touches, paper plates for mixing paint, cups of water, a plastic tablecloth to protect your workspace, screwdrivers, and tools to take apart the picture frames. Don't forget to bring your sense of humor – crafting is all about having fun! And, of course, you'll want some paper towels handy for those creative mishaps.
 |
Step 4: Set the Mood
For our crafting party, we created a spooky charcuterie board courtesy of Cate, and we had a variety of drinks to keep the creativity flowing. Wine, beer, Jack Daniels, and Vanessa's delicious apple cider mimosas set the perfect mood for our crafting adventure.
 |
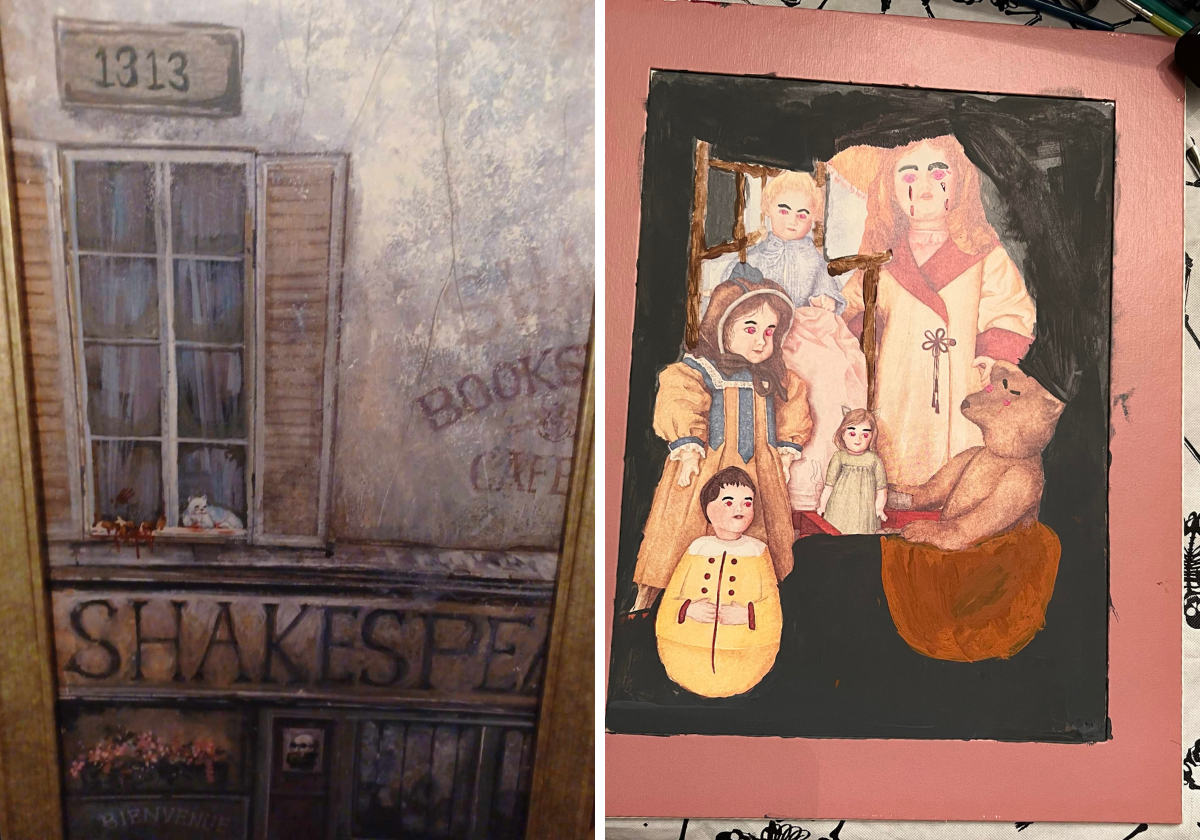
Step 5: Let Your Creativity Run Wild
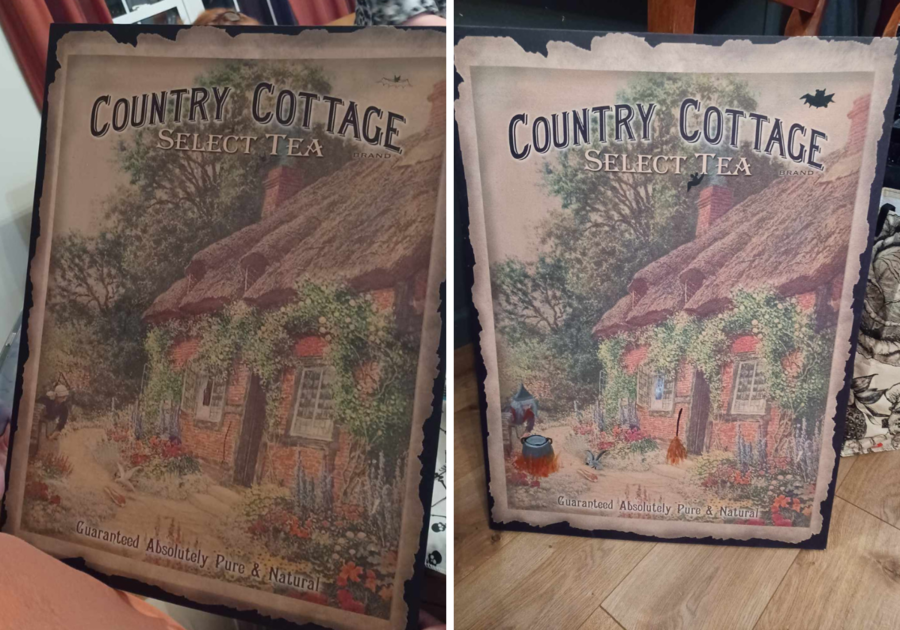
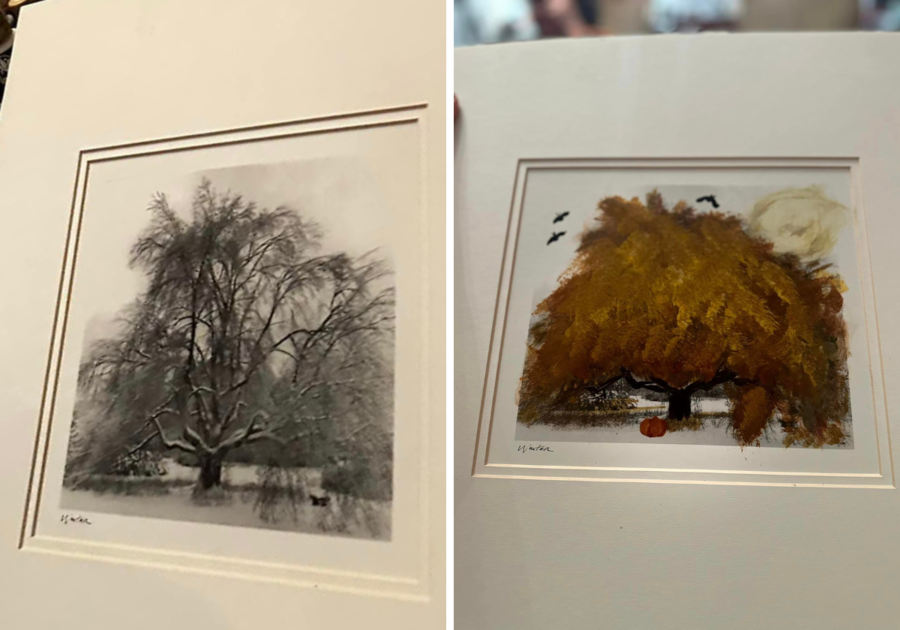
Now comes the fun part – painting! We weren't too concerned about being organized; we just let our imaginations run wild. Taking before photos is essential to compare your artwork later, but other than that, go with the flow. We all had different ideas and various levels of artistic ability, but that's what makes it special.
 |
Step 6: Embrace Creativity in All Forms
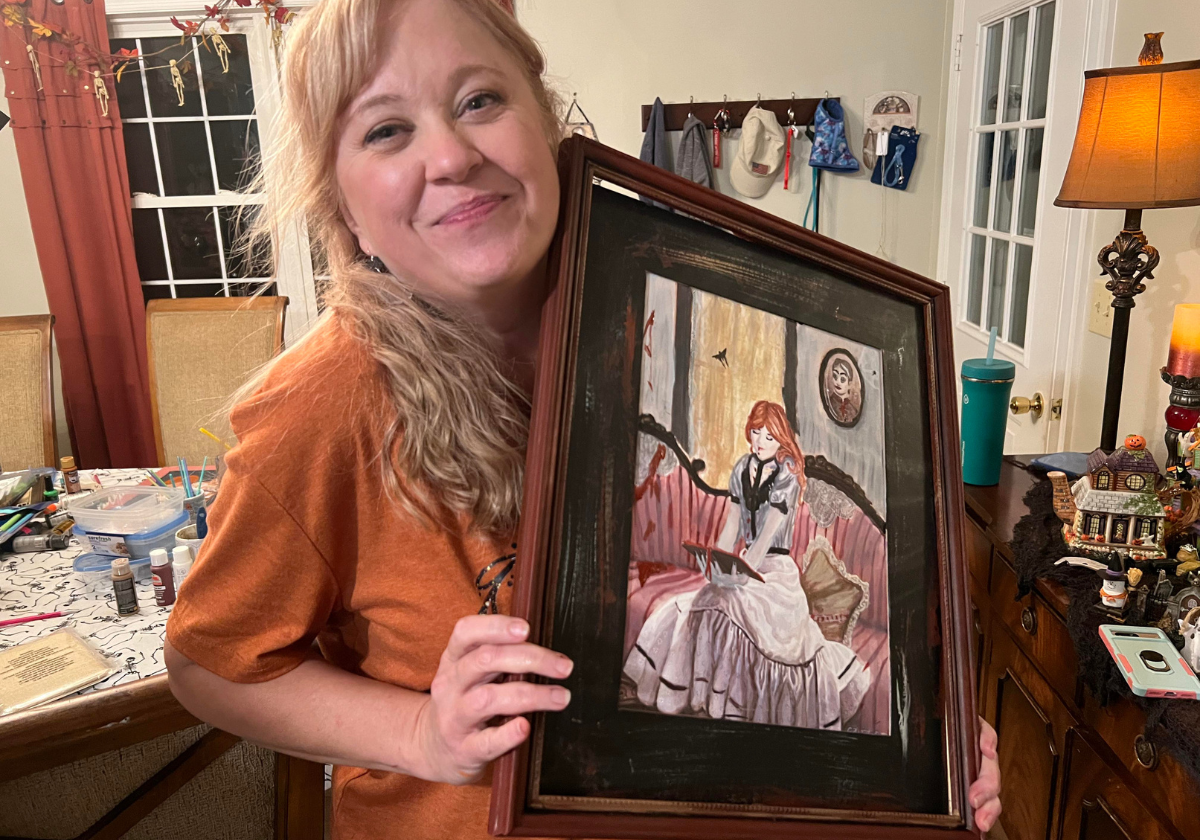
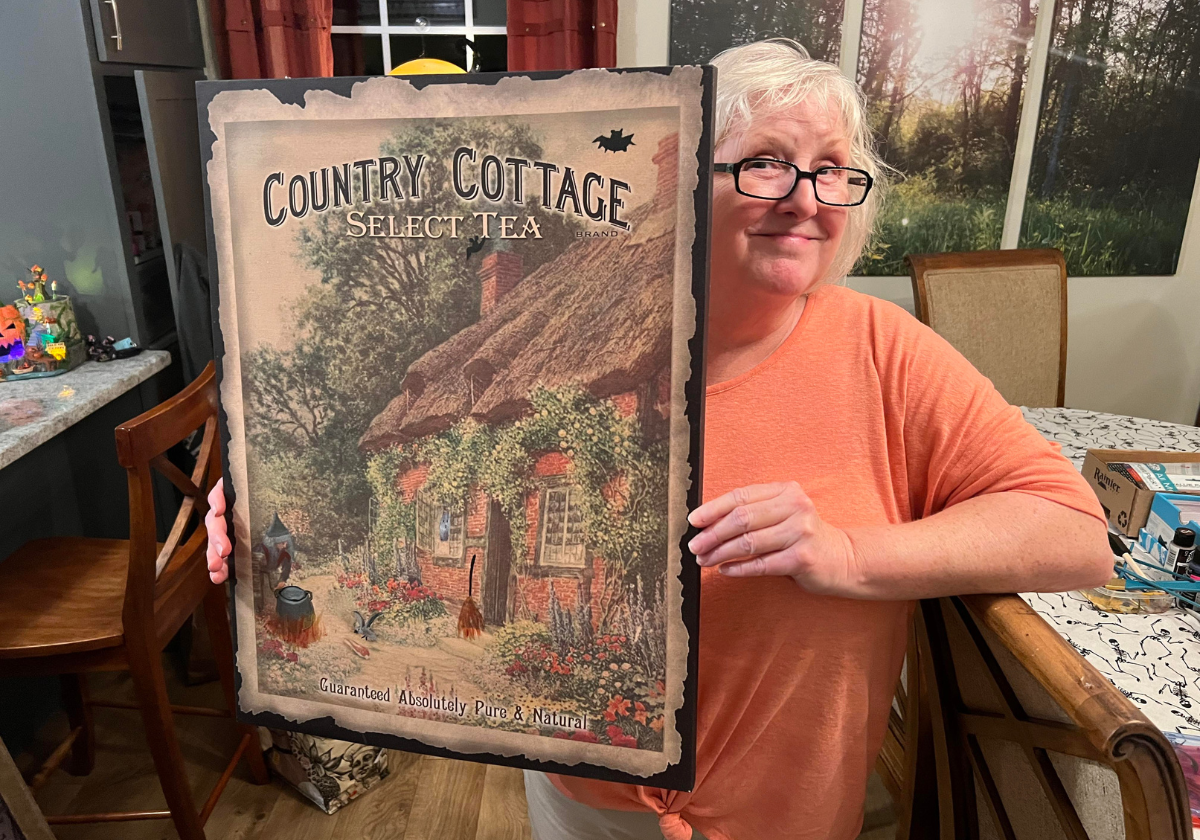
Remember, crafting is all about enjoying the process, and there are no strict rules. Our birthday girl, Lori, even cheated a bit with stickers (but it was her birthday, so we let it slide). Whether you're a seasoned artist or a total beginner, embrace your unique style and enjoy every moment.
 |
Step 7: Admire Your Spooktacular Creations
Once your spooky masterpieces are complete, take a moment to admire your work. Check out the before-and-after photos – it's incredible what a little creativity can do. We had an absolute blast, made some fantastic art, and most importantly, we created lasting memories.
 |
So, my fellow memory-makers, it's time to embrace the spooky season with creativity and laughter. While your family or grandmother might not fully appreciate what you did to their artwork, they will surely appreciate the joy and memories you've made together. Have a spooktacular time crafting and making memories!